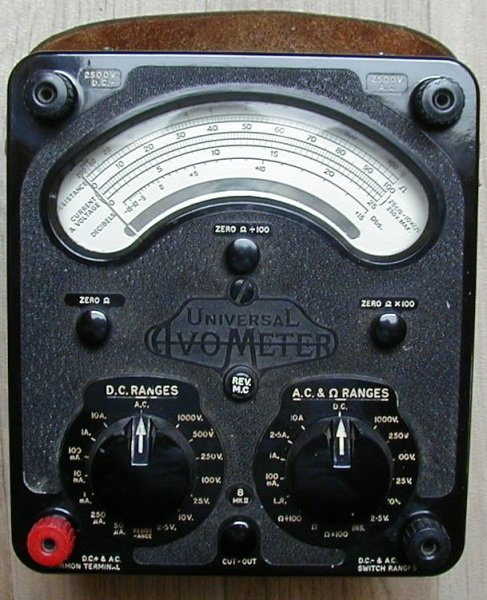
AVO-8 & manual
My AVO-8 MK II made in Januariy- 1963
I grew up with this universal meter at the junior technical school and in the Navy.
And after many years, I still use it for measurements, because in some cases, a stable needle provides smoother readings than a digital display.
After
Year My AVO meter is still in good working order. (It was made in January 1963.).
known types and production dates are:
Model 7-1936
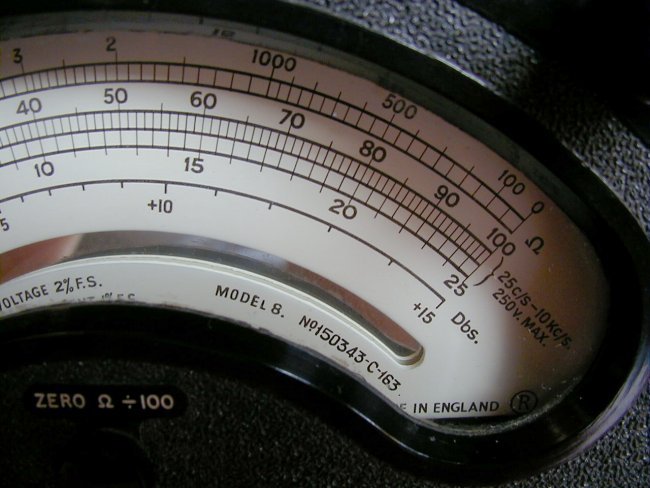
How old is your Avo-8?
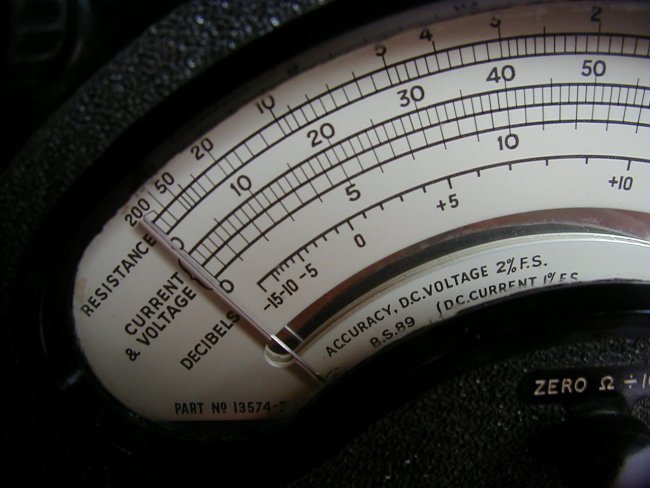
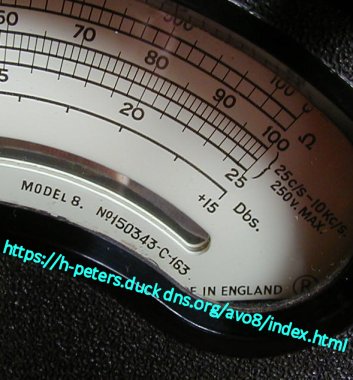
The manufacturing date can be read on the right side of the dial and then the last 3 or 4 digits, so 150343-C-163 in my case that is
1 st month = January and 63 is therefore 1963
this AVO-8 is made in January 1963
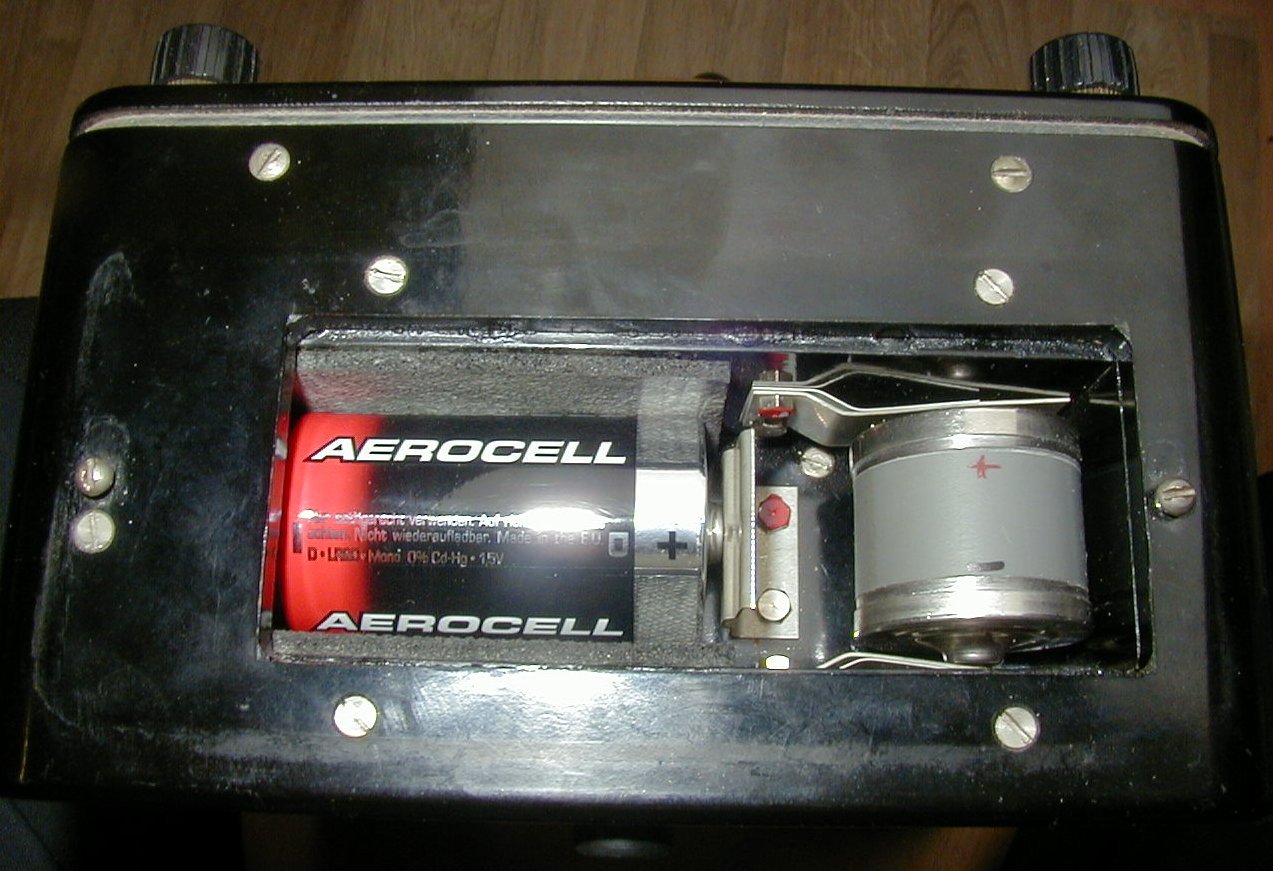
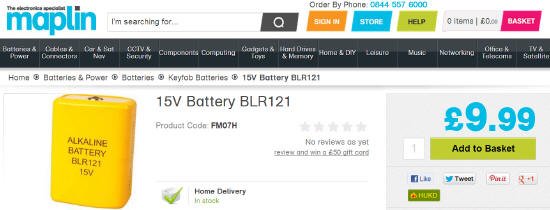
A problem with these meters is measuring the ohms in the battery, not the 1.5-volt D-cell, but the 15-volt battery, which is very difficult to obtain and only available in England for a high price of 10-15 euros, excluding shipping. The original "EverReady" BLR-121 had a very long lifespan, sometimes even 20 years. Is the replacement, made of alkaline, also the same? I don't think so!
http://www.maplin.co.uk/15v-battery-blr121-31510
But there are also other alternative options.
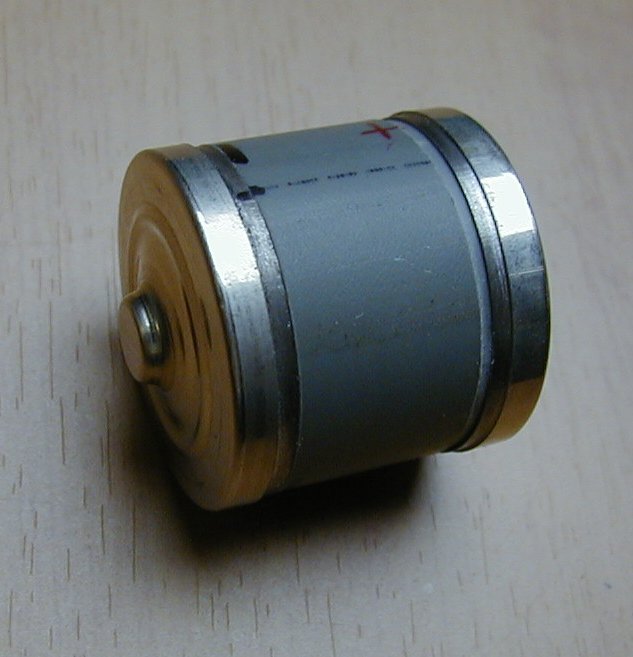
eg: My own made adapter:
|
|
|
|
|
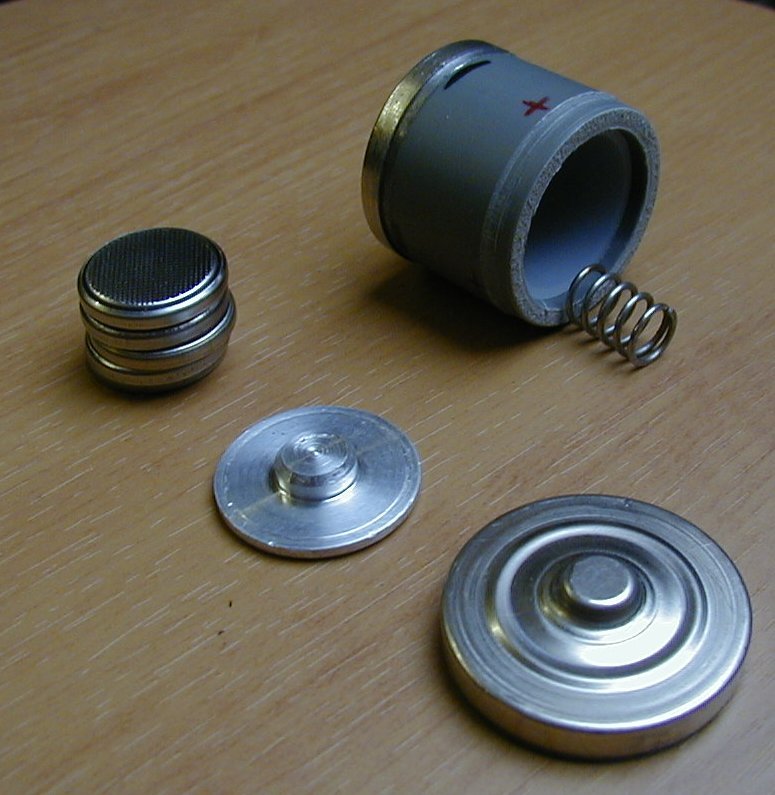
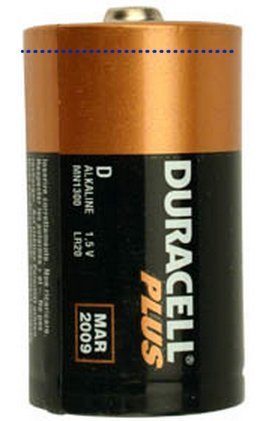
Cut off the dotted line of two old batteries to get the adapter's end caps. Using a piece of 25mm PVC pipe and a spring with an aluminum spacer, you can insert five 3-volt lithium batteries, such as CR-2032 type, in series, and then you have | |
Below: you can also make it this way using a piece of double-sided printed circuit board, a copper spring and a piece of heat shrink tubing to keep the batteries together . (foto's van google afbeeldingen)
|
|
|
You could also make something like this with 10 thin, small lithium batteries, but be careful with the thickness. You need a total length of 35 mm between the meter contacts, so 3.5 mm maximum per battery. Alternatively, you could make a longer holder that you mount lengthwise and clamp to the contacts with two wires.
Another method is to place 2 x 9 volt batteries, whatever fits in there and put them in series with a 5 Volt Zener diode then connect the plus to the red clamp and the minus to the other side .
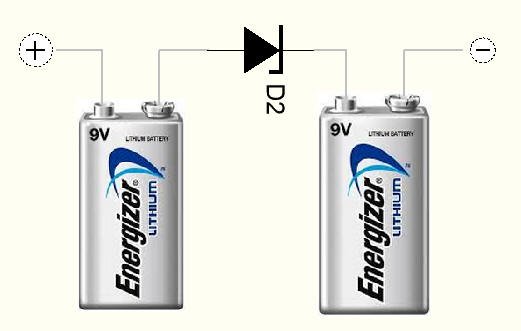
An insulating band around the batteries to prevent a short circuit between the positive and negative terminals. (The battery casing is made of iron!)
Another method is to connect 4 diodes in series, which have a voltage drop of 0.7 volts per diode, leaving 15.2 volts.
|
|
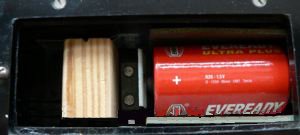
Another method is to take a 34mm long block of wood and drill a hole in it for a spring (e.g. ballpoint spring), then drill on both sides so that 5 thin lithium button batteries can fit in, and then clamp the whole thing into the battery compartment.
|
|
|
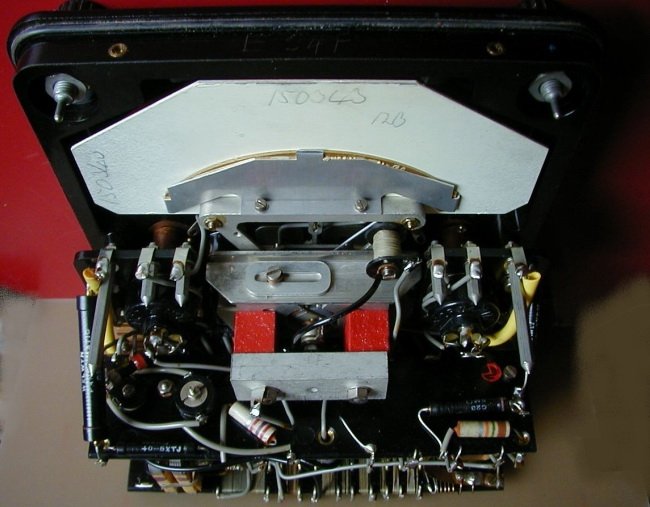
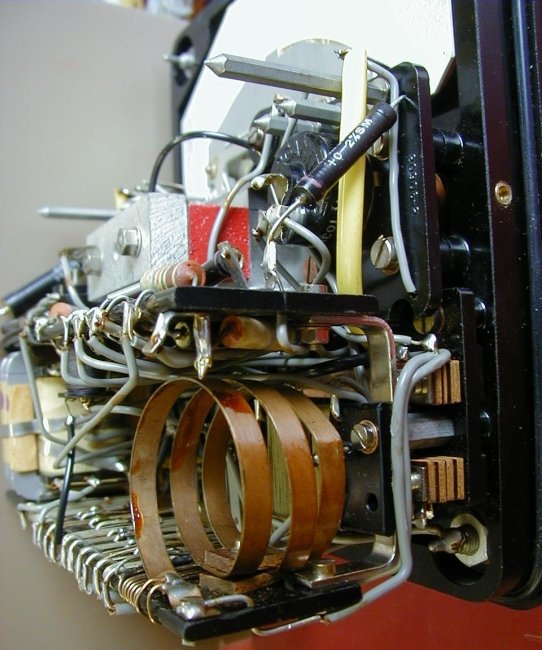
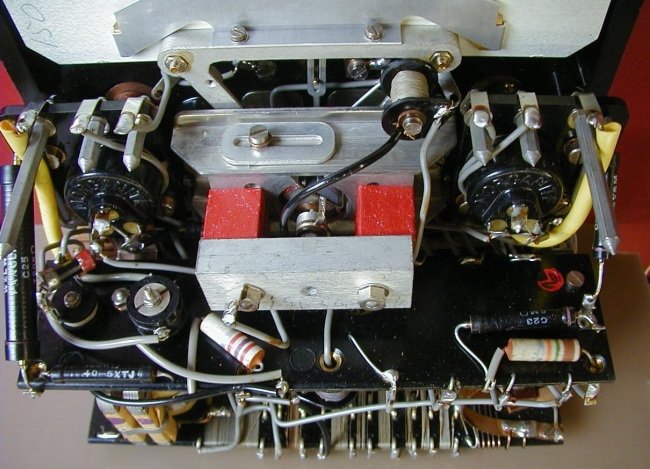
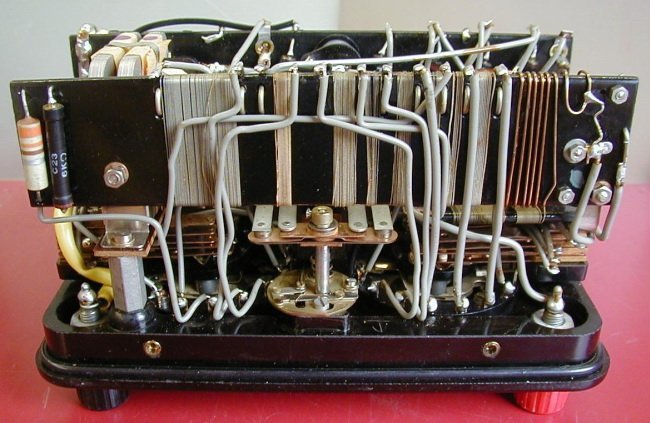
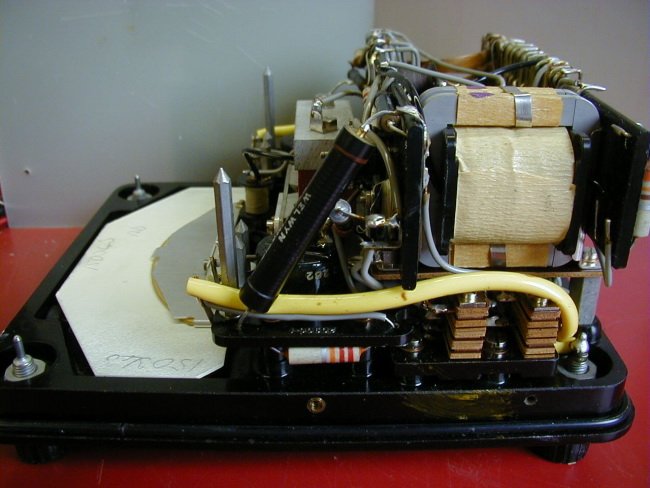
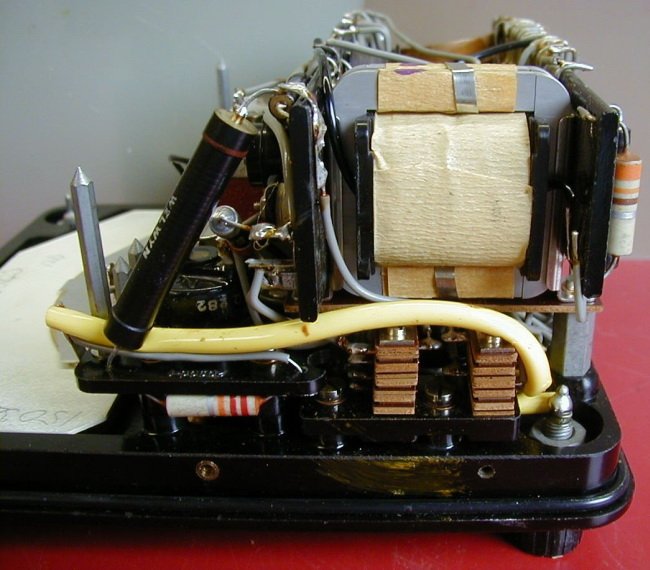
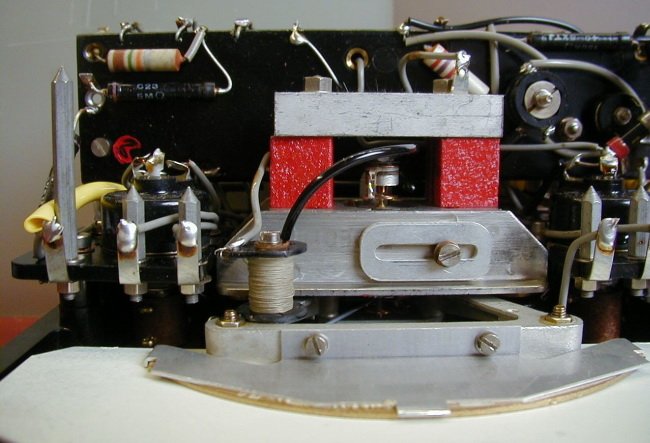
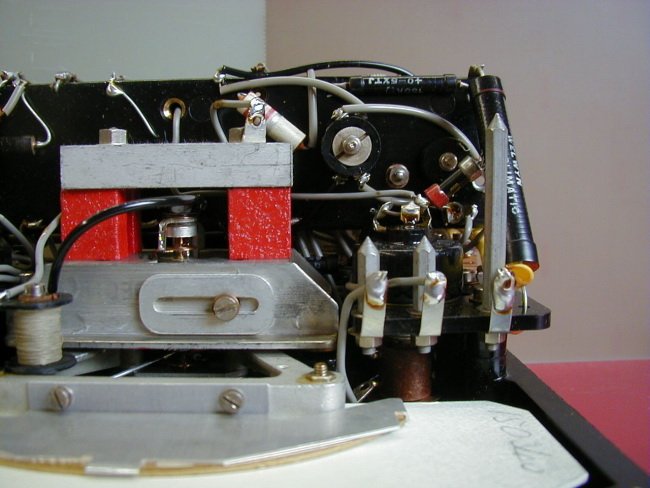
Various photos of the internal workings of my AVO meter.
|
|
|
|
|
|
|
|
|
|
|
|
|
|
|
|
|
|
|
|
|
|
|
|
Het schema van de AVO-8
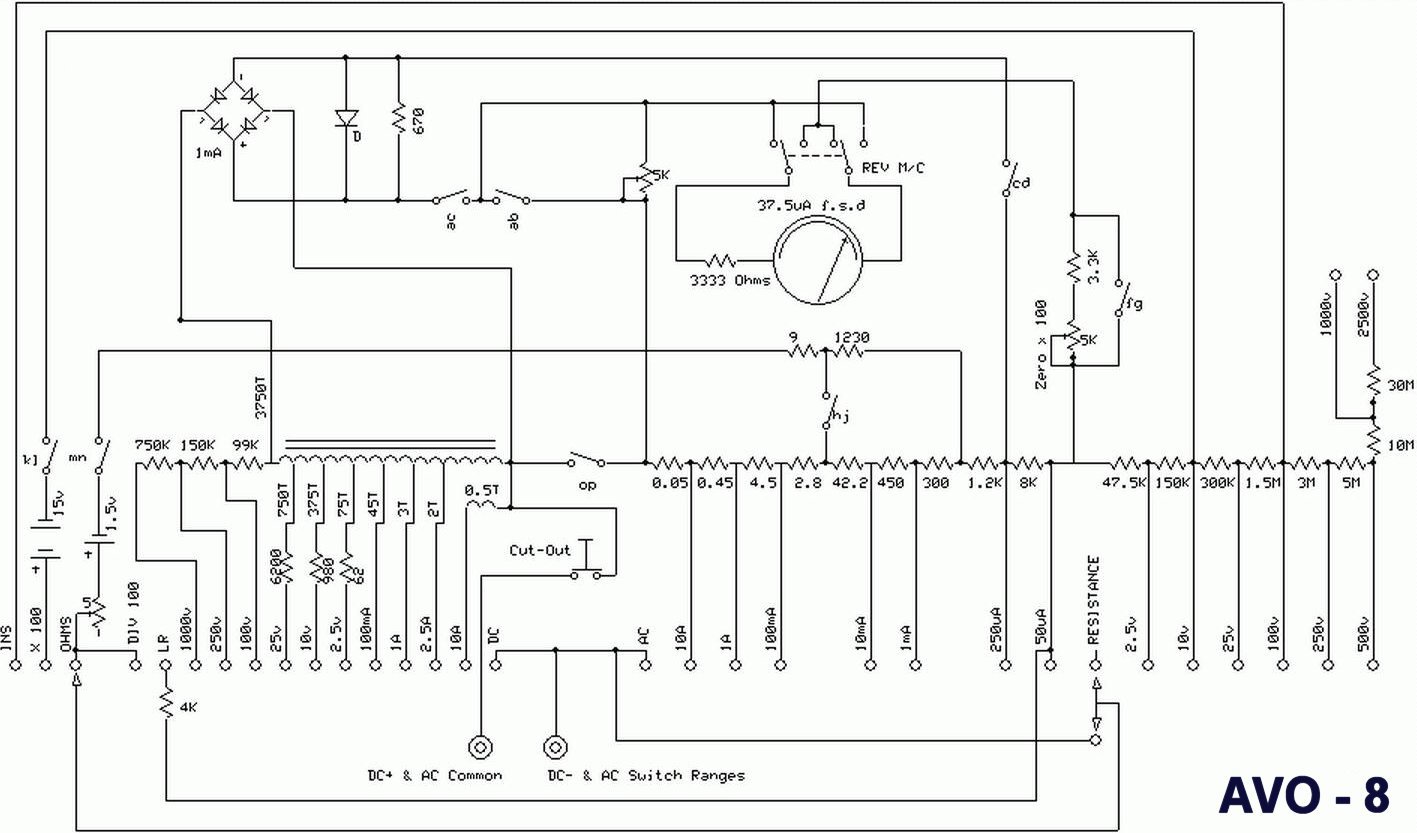
doc in pdf,.
Een Nederlandstalige handleiding.